RailBox Car Upgrade
Dec 16, 2024
Introduction
I bought three N scale 50-foot Athearn Railbox cars at a train show a while back and finally decided to upgrade them by swapping out the McHenry couplers with Micro-Trains body mounted couplers, painting the roofs, and weathering them. This article outlines the process I used when doing the upgrades.
Out of Box
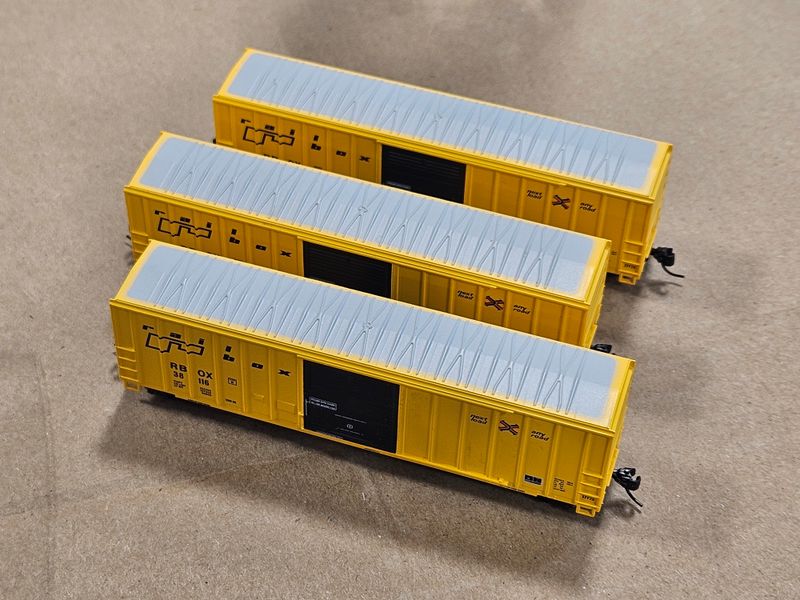
I started out with three N scale Athearn 50-foot RailBox cars as shown in Figure 1. Athearn uses McHenry couplers which needed to be swapped out and the cars needed to be weathered. I don't have anything against McHenry couplers, but I've been replacing everything with Micro-Trains couplers to be consistent. All three cars have the standard Railbox RBOX road name and are numbered in the 38000 series as follows:
- RBOX 38116
- RBOX 38170
- RBOX 38188
Draft Boxes
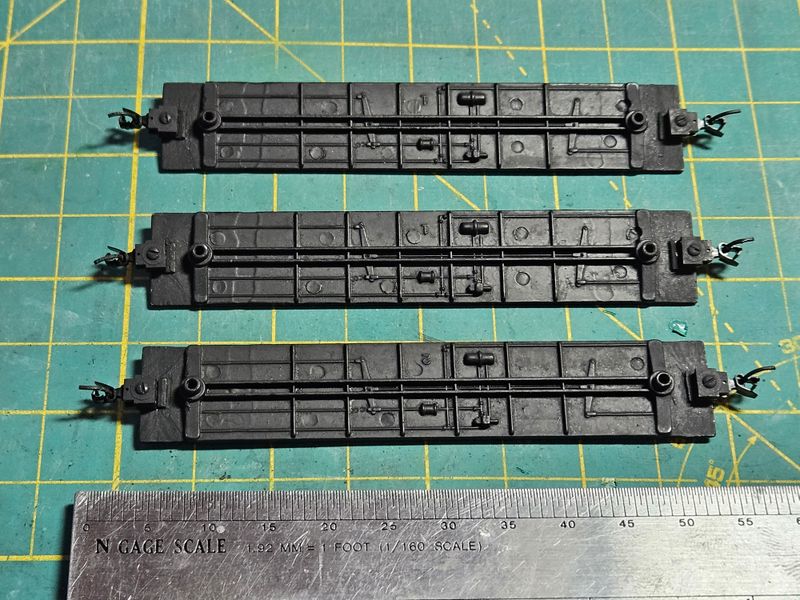
I was expecting this project to be relatively easy until I realized that the draft boxes for the McHenry couplers were molded into the metal frames of the Athearn boxcars. I initially tried filing them off, but ended up using a diamond cutoff wheel and a Dremel tool to grind them off. I left a small tab of metal from the original draft boxes to keep the body mounted Micro-Trains couplers from rotating. After the draft boxes were ground off, I gave the metal frames several thin coats of flat black acrylic as shown in Figure 2.
Couplers
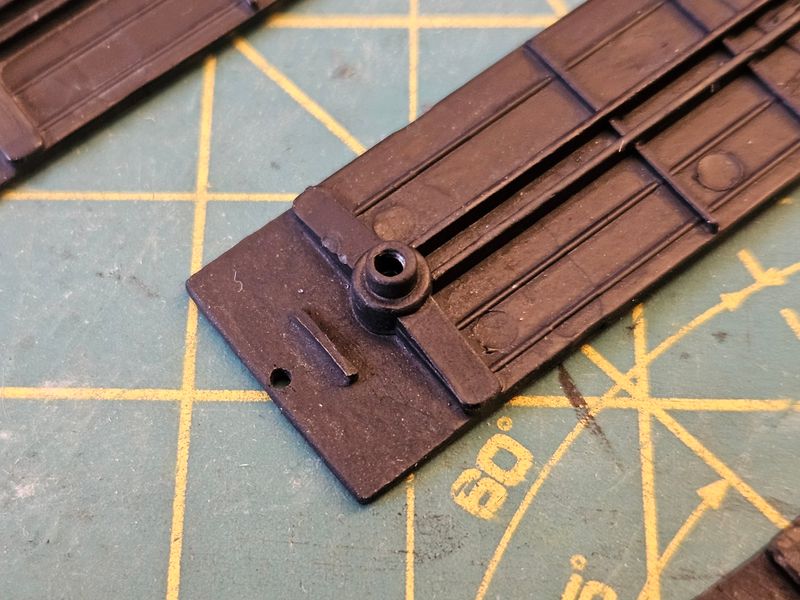
I drilled and tapped holes for the new body mounted Micro-Trains couplers. I used the 1015-10 universal body mounted short shank unassembled couplers. The couplers were mounted to the frame using screws as shown in Figure 3. One of the holes drifted off center when I drilled it, so I drilled the hole larger and used J-B Weld SteelStik epoxy putty to fill the hole before redrilling and tapping.
The draft boxes on the couplers were painted yellow to match the car body color. The car body shell had to be raised slightly by adding strips of styrene to the inside. Without this adjustment, the couplers would bind when the ends of the shell pressed down in them.
Roofs
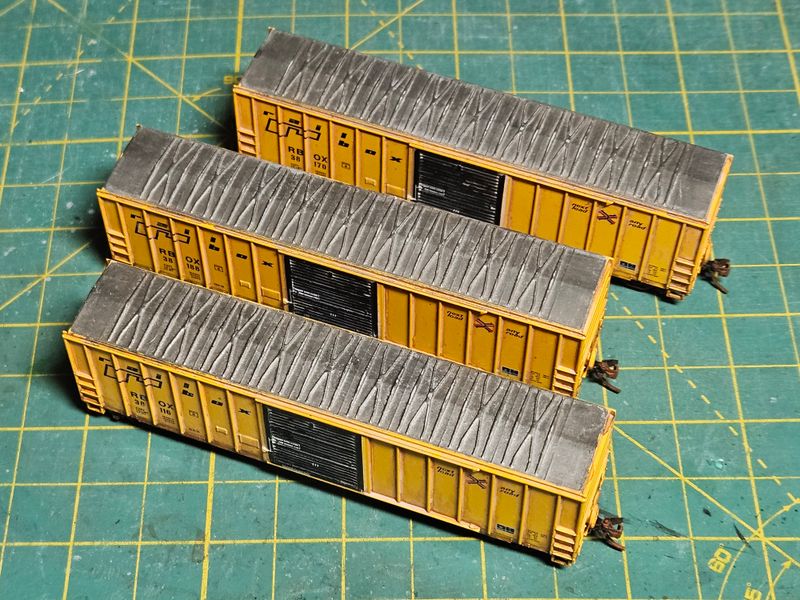
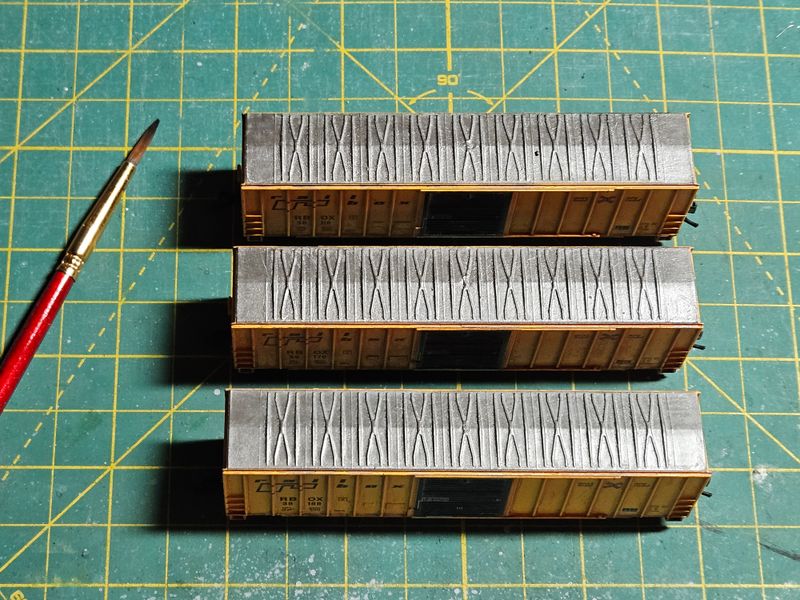
The original roofs were painted grey using a stencil and the paint didn't cover the entire roof. I started by priming the entire roof to the edges with multiple thin coats of grey acrylic. Then I dry brushed them with some old Boltgun Metal paint from Citadel Colour as shown in Figure 4. Boltgun Metal has been discontinued. The modern equivalent would be Citadel Leadbelcher. It's basically a high pigment metallic acrylic paint.
Weathering
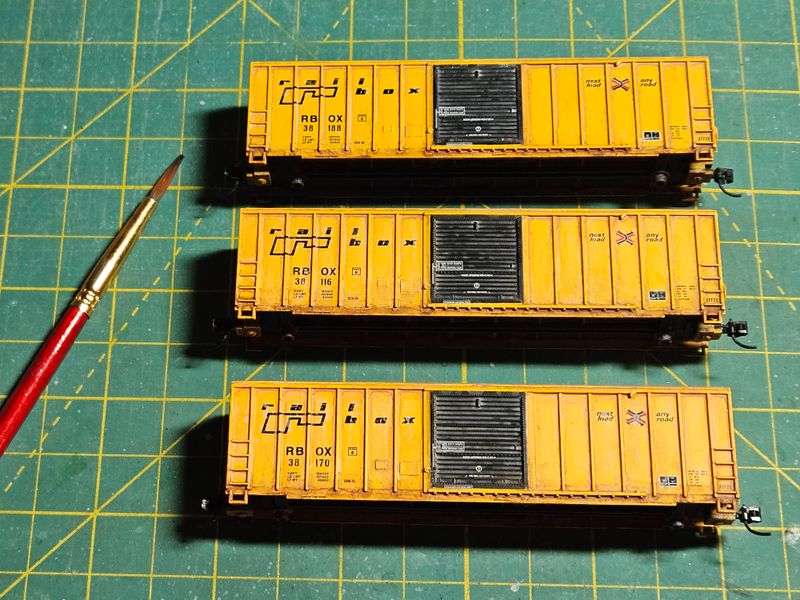
I started weathering the cars by fading the sides with a couple watery coats of white acrylic paint tinted with a bit of purple to correct the yellow base color. When applying a fading layer, find the basecoat color on a color wheel and use the complementary color to tint the fade. Once that was dry, I added a couple washes of burnt umber to pull out the crevice details and then streaked the sides with burnt sienna for a rust effect as shown in Figure 5. The ends were done in a similar fashion with extra burnt umber near the bottom to simulate dirt kicked up from the wheels.
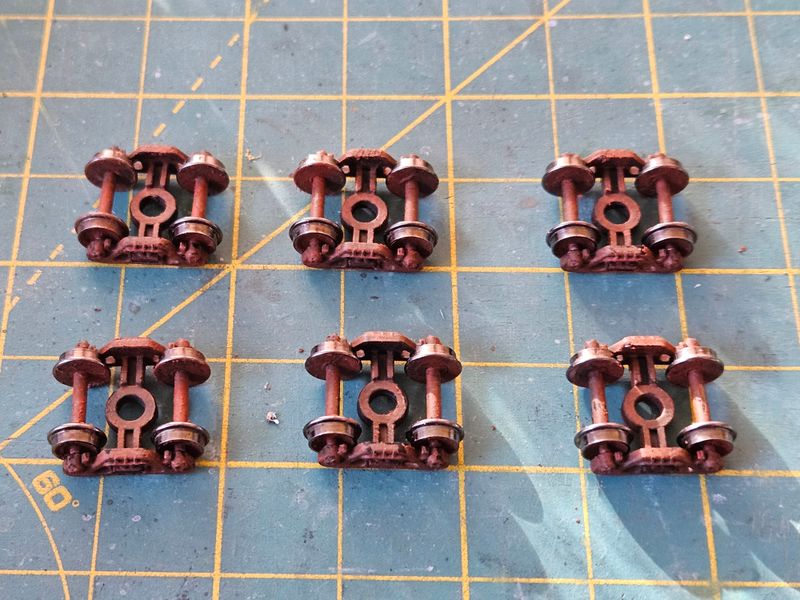
I would normally replace the wheels with InterMountain metal wheelsets, but the Athearn cars already had adequate metal wheels. I disassembled the trucks and wheels, giving them a similar weathering to the underbody and couplers. You have to be careful not to get paint into the holes where the axles meet the trucks as well as the points on the ends of the axles. I carefully removed any excess paint from the wheel surfaces with a toothpick. After everything was dry, I reassembled the trucks and wheels as shown in Figure 6.
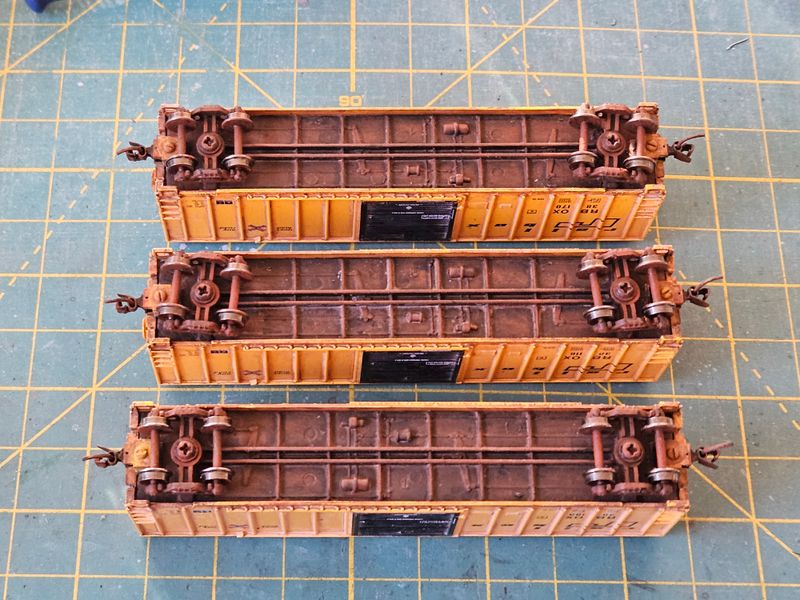
The metal frame was already painted black after grinding off the draft boxes, which made weathering the underbody easier. With the shell installed, I started out with several thin washes of burnt umber acrylic over the entire underbody, letting it settle in the creases to simulate dirt. The edges of the shell next to the frame were given heavier coats. After this was dry, I dry brushed the frame and the molded brake gears with burnt sienna to simulate rust. Finally, the trucks were reinstalled and the screw heads weathered as shown in Figure 7.
The couplers were carefully dry brushed with a base coat of burnt umber and a final highlight drybrush of burnt sienna for rust. One thing that I found with weathering couplers is that the mating surfaces need to be clean of paint. The extra friction of the paint makes it difficult for the couplers to slide apart and they don;t always couple properly. Luckily, it's easy to chip acrylic paint off of the Delrin plastic used in the couplers.
Conclusion
After weathering, I adjusted the wheels with an NMRA wheel gauge, and verified that the car weights were correct per NMRA recommendations. I had a little trouble with keeping the Athearn metal wheels square on the side that slides when adjusting the wheel gauge. I'm not sure if that is typical of those particular wheelsets. It's also a good idea to set the wheel gauge before weathering because I had to touch up some spots.
The final result is shown in Figure 8. I might give them a flat clear coat to protect them at some point, but I'm not using any weathering powders so I'm not too concerned about them. They will probably go into paper service until I can get my 50-foot high cube boxcars built. Overall, other than dealing with the metal draft box removal, the upgrade was simple and the results were satisfactory.
